While shooting videos for my Youtube Channel with marketing tips and advice, I received more than once a question from my viewers:
"How do you create animations, effects and transitions in your videos?"
It makes sense to explain how I create my videos and what I do to make them more professional, especially for the ones who want to start their own Youtube Channel.
In this article, I’ll talk specifically about tools, apps and services I use for my videos.
Intro
Let’s start from what I have at the beginning of my video: the intro.
Apart from the Growth Academy logo that I designed, all the rest is part of a third-party animation. I didn’t create it; I took it from the library of Viddyoze.
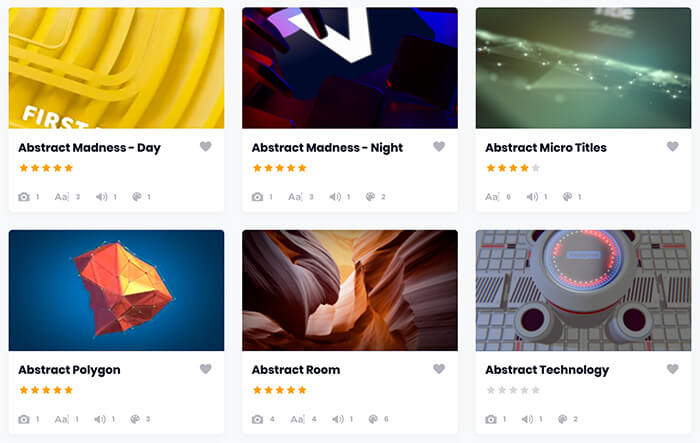
Viddyoze is a service that offers plenty of animations, not just for intros, and you can personalise colours and timing for most of them.
If you want to know something more about Viddyoze, click here.
Lower Third
In every video I have, I introduce myself with a lower-third.
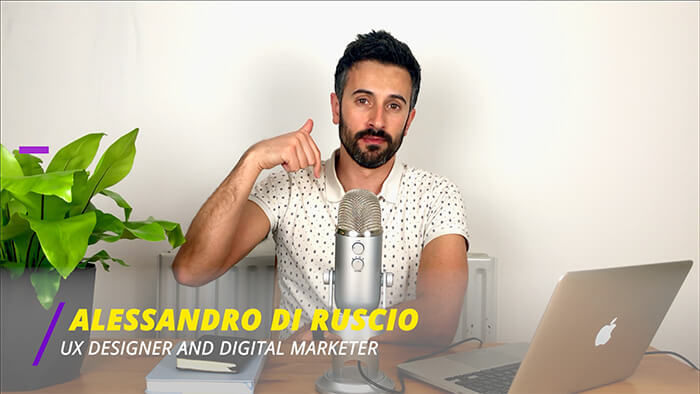
You can find and personalise a lower-third with Viddyoze, but in this case, I’ve used another service called Envato Elements.
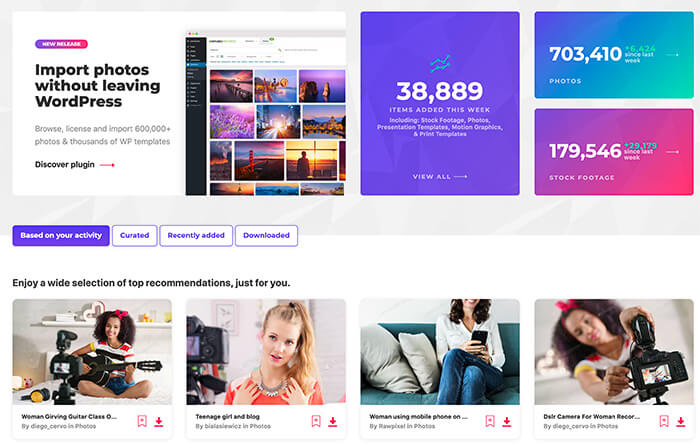
With around 15$ per month, you may have an asset library that covers everything for your videos, and not just them.
Envato elements includes stock videos, templates, photos, sound effects, music and much more.
Matter of fact, the music you listen in the background of my videos comes from that library.
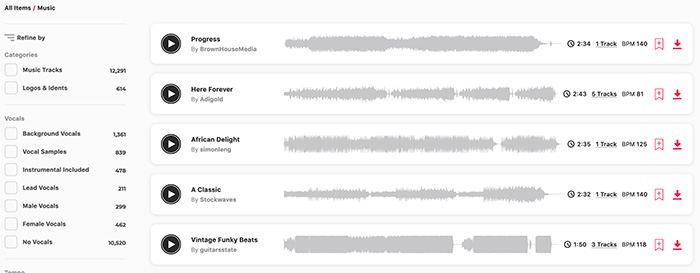
If you have a Youtube Channel or you’re about to create one, this is a must buy. Click here if you want to take a look at Envato Elements.
Animations
Let’s get into one of the things I got asked more: animations for keywords.
Before I get into this, a word of advice I always give to my students: if you’re not good with web design and video editing, look for a friend of yours who’s good with these things.
I’m not saying you won’t have success working alone, but it will take a lot more time to get results.
I’ve been a graphic designer for most of my life, so I don’t have any problem to design a website, do video and audio editing, or create graphics assets.
If you don’t have this kind of experience, team up with someone who could help you.
I gave you this advice cause I edit my videos on Final Cut Pro, and if you don’t have experience with this kind of tools, it will take plenty of time to learn.
Anyway, all the animations are created through a plugin for this software.
The plugin is called mTitle Simple Pack.
It adds a list of text animations on Final cut pro, and every single animation can be personalised. Click here to know more about mTitle Simple Pack.
Colour filters
For the records, all my videos have filters to make everything brighter and crispier. In reality I’m definitely less attractive. Reality sucks 🙁
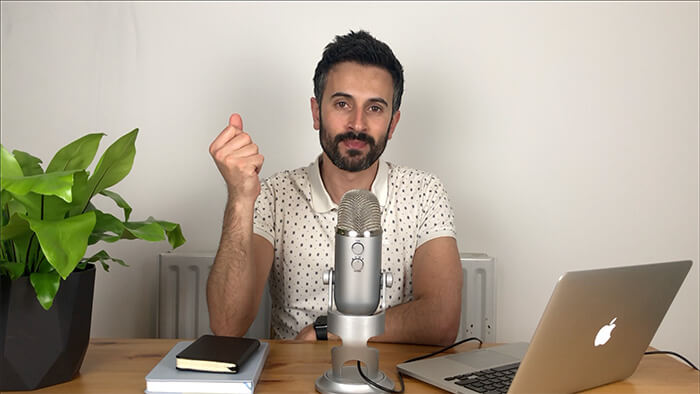
All the filters come as well from Motionvfx, the same provider of mTitle Simple Pack. That website is a goldmine for content creators.
Click here to visit the website
3D models
The last thing I want to address is the 3D representations for the extra content in my videos.

The tool I use is called Smartmocksup.
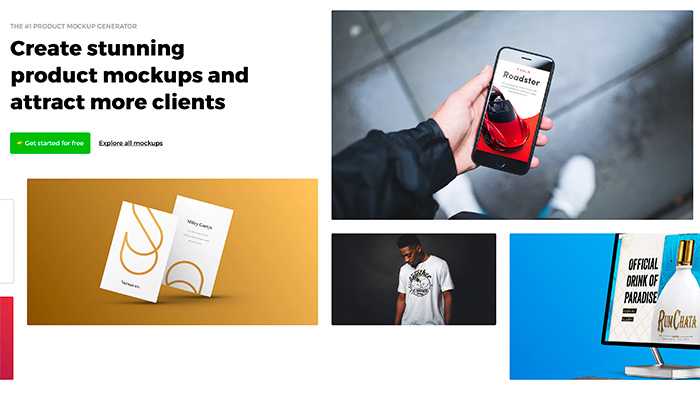
You can add your image on devices, books, magazines and much more. Choose the mockup that you’re looking for, add your image and then download the 3D model.
If I didn’t talk about something you’re interested in, write it in the comments.
Question of the day
Which one of the services I listed in this video are you going to use? Reply in the comments!
